Hiop in 30 Minutes: From Install to Live Data Pipeline
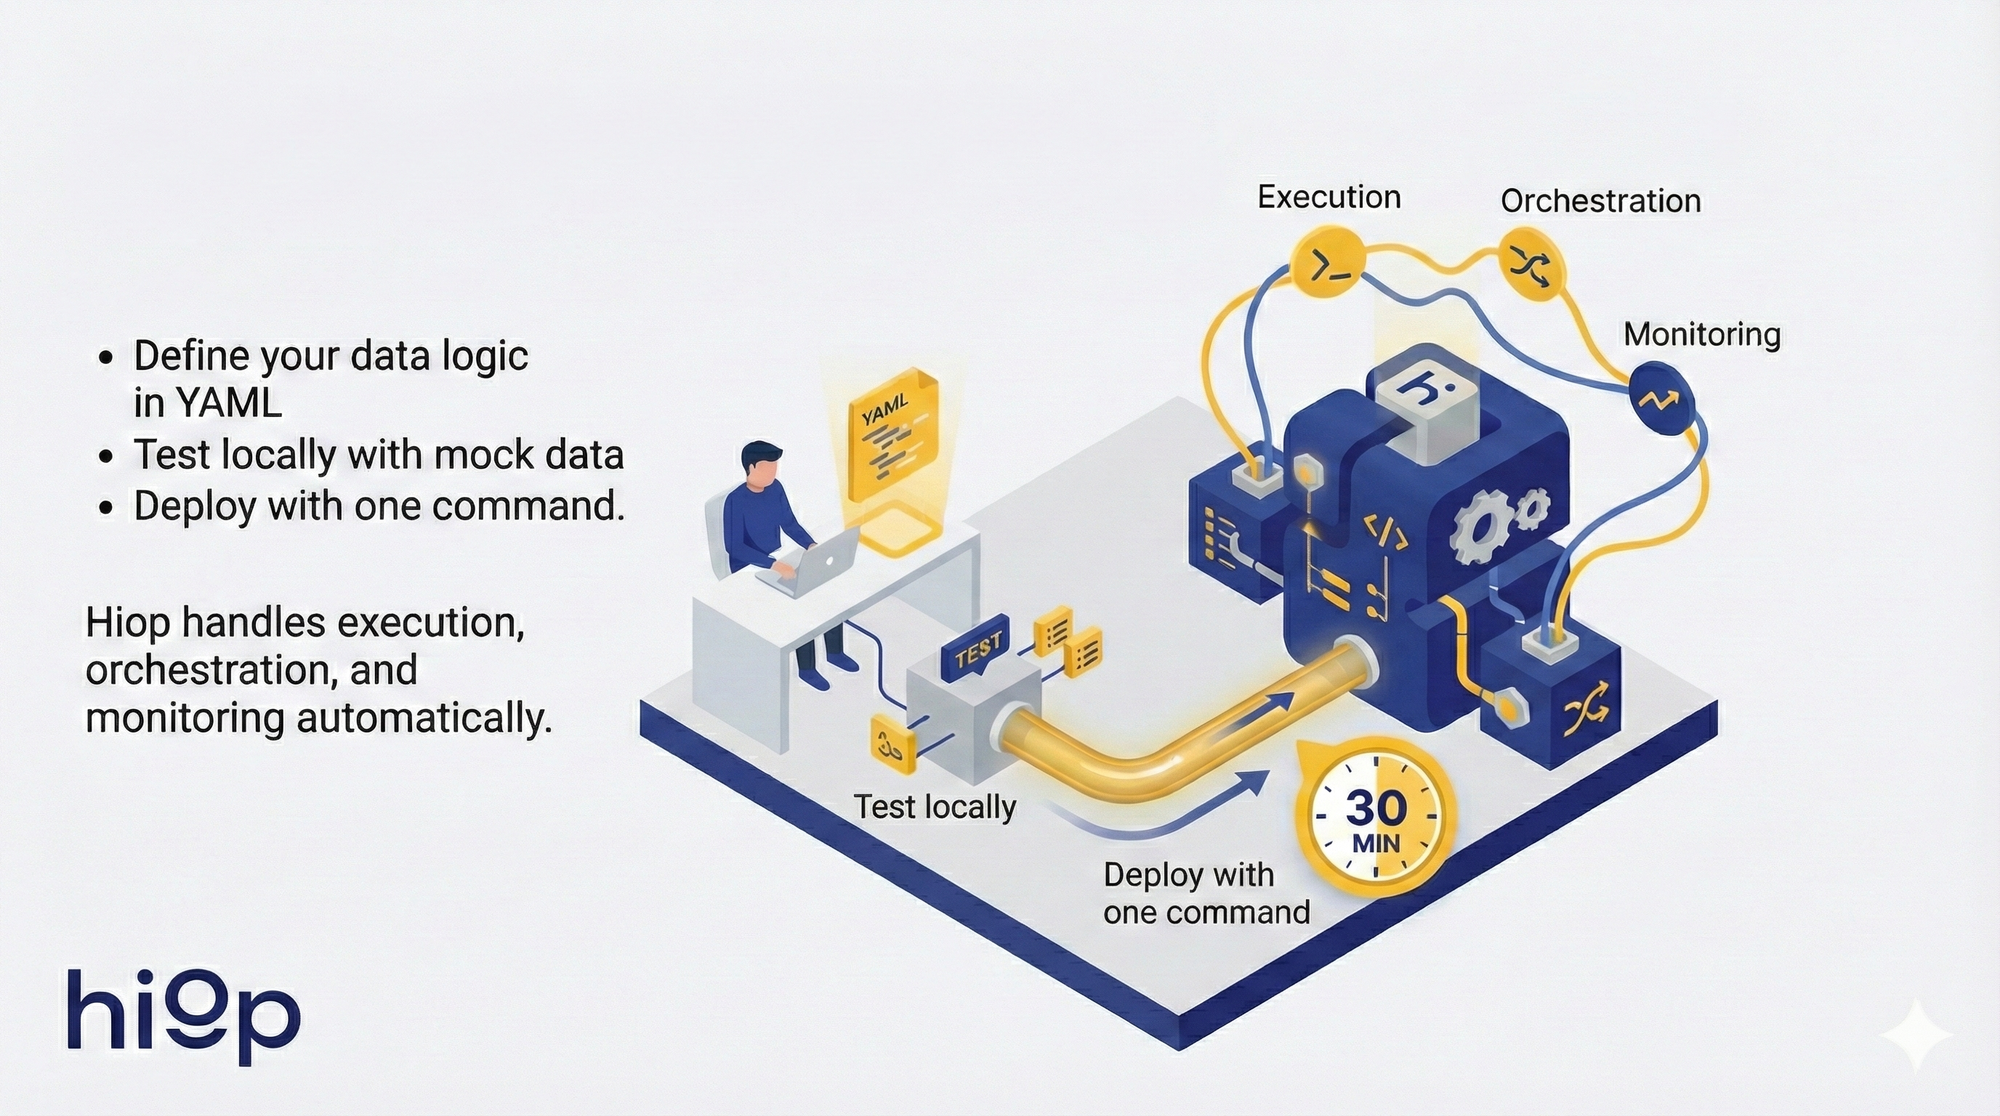
Build a production data pipeline in 30 minutes: no infrastructure required. • Define your data logic in YAML • Test locally with mock data • Deploy with one command. Hiop handles execution, orchestration, and monitoring automatically.

Most data engineers spend more time managing infrastructure than writing data logic. You deploy Airflow, configure dbt servers, manage orchestrators, monitor runtime - before moving a single record.
This is backwards.
You shouldn't need to build infrastructure to move data. You should define what data moves where and how it transforms. The execution layer should adapt automatically.
That's what Hiop does.
Traditional platforms: Deploy infrastructure → Write code that runs on it → Configure orchestration → Manage runtime
Hiop: Define logic in YAML → Commit to Git → Deploy (backpack sync && backpack up) → Serverless execution handles the rest
This walkthrough demonstrates the difference. In 30 minutes, you'll build a production data pipeline without deploying any infrastructure. You'll define semantic models, transformations, and data routes in YAML. Hiop compiles these into execution plans and allocates runtime on demand.
If you've built data pipelines before, this will feel different. That's the point.
What You'll Build
A pipeline that:
- Defines semantic model for customers data (YAML)
- Declares data route: PostgreSQL → transform with SQL → S3
- Tests locally with mock data
- Deploys serverlessly with one command
- Runs on schedule automatically
You write logic. Hiop handles execution.
Time: ~30 minutes. Prerequisites: Python 3.8+, database credentials.
Step 1: Install Backpack CLI (2 minutes)
Download the wheel from Web Console > Downloads.
Execute:
pip install pybackpack-<version>.whl
Verify:
backpack --version
Step 2: Configure Credentials (1 minute)
Execute:
backpack setup --username your-email@company.com --password your-password
Your credentials are encrypted locally. For multiple environments (dev/prod), create profiles:
backpack setup --profile prod --username prod@company.com --password prodpass
backpack setup --profile dev --username dev@company.com --password devpass
Step 3: Initialize Workspace (2 minutes)
Create the new workspace from Web Console > Workspaces.
Then, back in the terminal, execute:
mkdir my-data-project
cd my-data-project
backpack init --organization your-org --workspace analytics-dev
This creates .jump/config.yml linking your local folder to the Hiop workspace.
Step 4: Add Data Locations (5 minutes)
Before creating pipelines, register where your data lives.
Option A: Via Web Console (recommended for first location)
- Go to the Web Console
- Navigate to Connect > Zones > Locations
- Click "Add Location"
- Select location type (PostgreSQL, S3, etc.)
- Enter connection details
- Save
- Assign the location to the workspace (Once saved it will automatically request to what workspace assign the location)
For this walkthrough, add:
- Location 1: PostgreSQL database (source)
- Location 2: S3 bucket (destination)
Step 5: Define Your First Resource (5 minutes)
Resources are semantic entities - your data ontology.
backpack add resource
Interactive prompts:
- Resource name:
customers - Description: Customers records from production database
- Schema: Define columns (name, type, constraints)
Generated YAML structure:
description: Customers records

# Example schema in generated YAML:
schema:
  - name: id
    type: integer
  - name: email
    type: string
  - name: created_at
    type: timestamp
  - name: lifetime_value
    type: decimal

# **Variants** define how to read/write this resource at specific locations:
postgres_read:
    location: prod_postgres
    sql:
	    query: SELECT * FROM public.customers

s3_write:
  location: analytics_s3
  parquet:
	  name: customers.parquet
    path_prefix: customers/
Step 6: Create an Itinerary (7 minutes)
Itineraries define data routes with optional transformations.
backpack add itinerary
Interactive prompts:
- Itinerary name:
customers_analytics - Source resource:
customers(postgres_read variant) - Destination resource:
customers(s3_write variant) - Transformations: Yes
Generated YAML structure:
description: Daily customer data sync with enrichment

inputs:
  customers:
	  postgres_read: {}

compute:
	steps:
	  - enrich:
	    sql:
		    query: |
		      SELECT *,
		        CASE
		          WHEN lifetime_value > 10000 THEN 'vip'
		          WHEN lifetime_value > 1000 THEN 'standard'
		          ELSE 'basic'
		        END as customer_tier
		      FROM input

outputs:
  customers:
	  s3_write: {}

schedules:
  fixed:
	  timezone: Europe/Rome
    cron: "0 2 * * *"  # Daily at 2 AM
Key concepts:
- inputs: Where data comes from (resource + variant)
- compute: Transformations (SQL, LLM prompts, etc.)
- outputs: Where data goes (resource + variant)
- schedules: When it runs (cron or event-driven)
Step 7: Test Locally (5 minutes)
Before deploying, test your logic with mock data.
Create test input data: test_data/customers.csv
id,email,created_at,lifetime_value
1,alice@example.com,2024-01-01,15000
2,bob@example.com,2024-02-01,500
3,carol@example.com,2024-03-01,5000
Create test expected result test_data/customers-tiered.csv
id,email,created_at,lifetime_value, customer_tier
1,alice@example.com,2024-01-01,15000, vip
2,bob@example.com,2024-02-01,500, basic
3,carol@example.com,2024-03-01,5000, standard
Create test file customers_analytics.test.yml
customers_analytics:
  overrides:
    inputs:
      customers:
        postgres_read:
          files:
            - ./test_data/customers.csv
  tests:
    customers_labeled:
      description: |
        Verify the users are correctly labeled with a tier
      output:
        equals:
          - /test_data/customers-tiered.csv
Run local test:
backpack test
Hiop runs your transformation against mock data, will compare output and will return success or fail based on the result
You defined logic in YAML. Hiop executed it locally. No infrastructure deployed. Same runtime that will execute in production.
This is why the declarative approach works: test the logic, not the infrastructure.
Step 8: Deploy (2 minutes)
# Sync local config to Hiop cloud
backpack sync

# Deploy and activate
backpack up
What just happened:
You wrote YAML describing WHAT you want:
- Semantic model (customer resource)
- Data route (PostgreSQL → S3)
- Transformation logic (SQL enrichment)
- Schedule (daily at 2 AM)
Hiop compiled this into HOW to execute:
- Generated execution plans from your YAML
- Allocated serverless runtime on demand
- Configured orchestration automatically
- Embedded lineage, quality checks, monitoring
You thought in logic. Hiop thought in execution.
No infrastructure deployed. No orchestrator configured. No separate catalog or quality tools.
This is the paradigm shift: declarative data logistics.
Step 9: Monitor Execution (Optional 1 minute)
Via CLI:
# Run on-demand
backpack run customers_analytics

# Check status
backpack status customers_analytics <run-id>
Via Web Console:
- Go to Workspaces > analytics-dev > Itineraries > customers_analytics
- Run your delivery by clicking on delivery
- View real-time logs
- Review data quality metrics
Everything's embedded - no separate monitoring tools.
What You Just Learned
The declarative paradigm:
- Define WHAT: semantic models, transformations, routes (YAML)
- Hiop handles HOW: compilation, runtime, orchestration, execution
- Test logic locally before production
- Deploy with
sync && up
Collapsed stack:
- No ETL infrastructure (serverless execution)
- No separate orchestrator (schedule in YAML → auto-orchestrated)
- No separate catalog (semantic model IS the catalog)
- No separate quality tools (validation rules in schema)
Git-native workflow:
- Logic lives in version control
- Review changes like code
- CI/CD for data (test → deploy → execute)
Next Steps
Add complexity gradually:
- LLM transformations:
compute:
  steps:
  - extract_intent:
	    ai:
		    table: customers:postgres_read
		    prompt: "Analyze this customer email and extract purchase intent: {{email_text}}"
		    model: claude_4_sonnet
		    result_column: purchase_intent
- Multi-step transformations:
steps:
  - clean:
	    sql:
		    query: "SELECT * FROM input WHERE email IS NOT NULL"
  - enrich:
	    ai:
	      table: customers:postgres_read
		    prompt: "Classify customer segment based on: {{attributes}}"
				model: claude_4_sonnet
		    result_column: customer_segment
  - aggregate:
	    sql:
		    query: "SELECT segment, COUNT(*) FROM input GROUP BY segment"
- Multiple destinations:
outputs:
  - customers:
	    s3_write: {}
  - customers:
	    snowflake_write: {}
- Missions (orchestrated graphs of itineraries):
backpack add mission
The Workflow
Development cycle:
- Edit YAML locally
- Test with mock data (
backpack test) - Commit to Git
- Sync to Hiop (
backpack sync) - Review in Web Console (optional)
- Deploy (
backpack up)
Daily operations:
- Web Console: Monitor executions, trigger backfills
- CLI: Run on-demand jobs, check status
The Bottom Line
You built a production pipeline in 30 minutes by defining logic in YAML. Hiop compiled it, allocated runtime, and handles orchestration.
Start building: https://hiop.io/request-dev-access